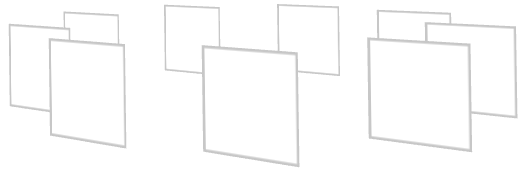
Use the Trajectory Layout nodes to arrange items along a trajectory path. You can create simple line and circle trajectories in Kanzi Studio and can import more complex spline trajectories you created in third-party tools. See Using spline trajectories.
To create a Trajectory Layout node:
 and use the drop-down menu to enable visualization of Debug objects.
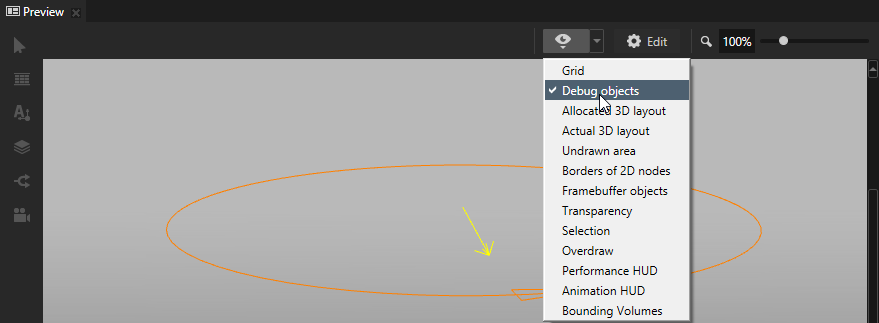
The Trajectory Layout node automatically calculates the distance between its child nodes.
To adjust the distance between the child nodes in a Trajectory Layout node, in the Project select the Trajectory Layout node and in the Properties add and set the Override Distance property.
By default the Trajectory Layout node arranges its child nodes from the start of the trajectory spline.
To adjust the starting position of the Trajectory Layout node child nodes on the trajectory, in the Project select the Trajectory Layout node and in the Properties add and set the Start Offset property.
Use brushes to set the background of 2D nodes. In Kanzi all 2D nodes by default have transparent background.
To set the background:

 , add the Background Brush property, and select the brush you created in the first step.
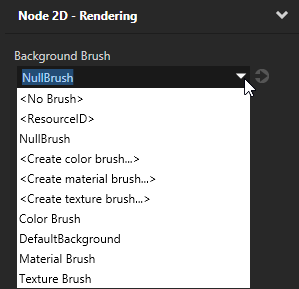
To create a Trajectory Layout 3D object:
// Create a Trajectory Layout 3D named Trajectory.
TrajectoryLayout3DSharedPtr trajectoryLayout = TrajectoryLayout3D::create(domain, "Trajectory");
To set the trajectory you want the trajectory layout to use:
// Use a trajectory with the resource ID MyTrajectory as the trajectory for the trajectory layout.
trajectoryLayout->setTrajectoryResourceID(ResourceID("MyTrajectory"));
To create a trajectory and use it in a trajectory layout:
// Create a circle trajectory named Circle with radius of 4 device independent units.
// Set the trajectory layout to use it.
TrajectorySharedPtr trajectoryResource = Trajectory::createCircle(Vector3(), Vector3::up(), 0.0f, 4.0f, domain, "Circle");
trajectoryLayout->setUserTrajectory(trajectoryResource);
To add items to a trajectory layout:
// Create cube meshes and add them as items of the trajectory layout.
// Items on the trajectory appear in the order you add them to the trajectory layout.
Model3DSharedPtr item1 = Model3D::createCube(domain, "item1", 1.0f, KanziThemeRed);
trajectoryLayout->addChild(item1);
Model3DSharedPtr item2 = Model3D::createCube(domain, "item2", 1.0f, KanziThemeGreen);
trajectoryLayout->addChild(item2);
Model3DSharedPtr item3 = Model3D::createCube(domain, "item3", 1.0f, KanziThemeBlue);
trajectoryLayout->addChild(item3);
Model3DSharedPtr item4 = Model3D::createCube(domain, "item4", 1.0f, KanziThemeOrange);
trajectoryLayout->addChild(item4);
Model3DSharedPtr item5 = Model3D::createCube(domain, "item5", 1.0f, KanziThemeGray);
trajectoryLayout->addChild(item5);
To manually position items in a trajectory layout:
// Position an item in the middle of the trajectory.
TrajectoryLayout3D::setOverrideOffset(*item2, 0.5f);

// Set the distance between the items to one third of the length of the trajectory.
trajectoryLayout->setOverrideDistance(0.3f);
For details, see the API reference.
Using the Trajectory List Box 3D node
